| Anchor | ||||
|---|---|---|---|---|
|
...
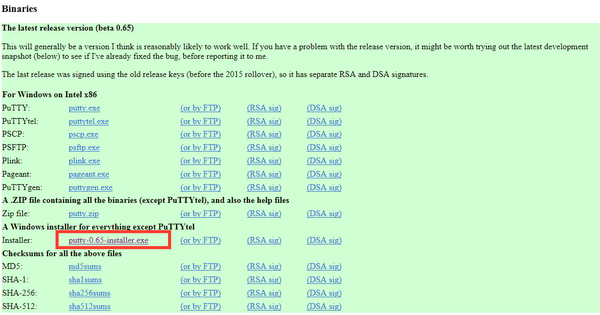
Select the link next to Installer.
| Anchor | ||||
|---|---|---|---|---|
|
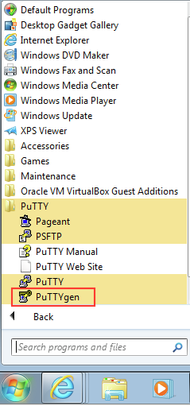
Once PuTTY has been installed go to Start → All Programs, and select the PuTTY folder. Select PuTTYgen.
...
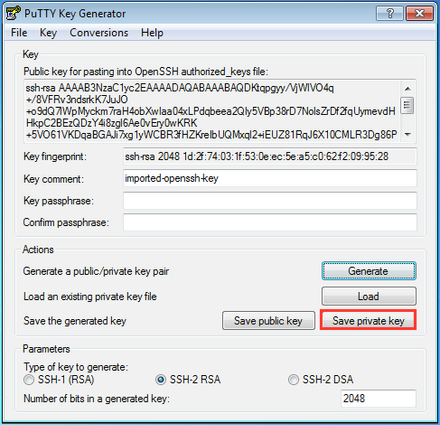
2. A window will then appear. Select on Conversions up at the top, then select Import Key.
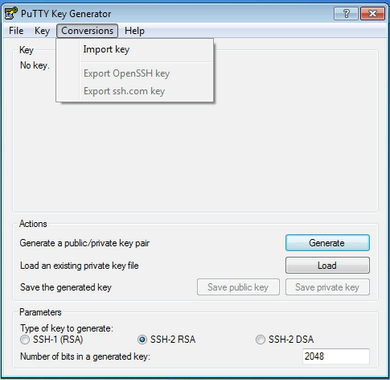
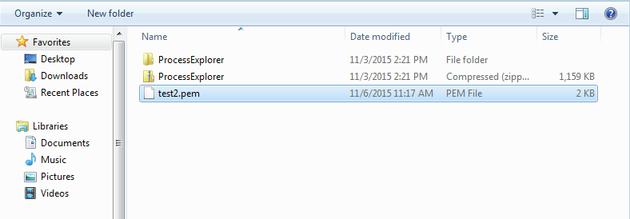
3. You will then be prompted to select a file. Select your PEM File for the key you want to import.
- A window should now pop up with your key imported. Select on Save Private Key.
...
You may select YES.
...
4. Name and save your private key as a PPK file.
| Anchor | ||||
|---|---|---|---|---|
|
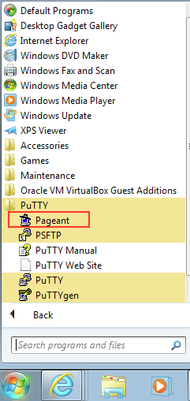
1. Now go back to Start → All Programs, and select the PuTTY folder. Select Pageant.
NOTE: Every time you log out or exit out the session, you'll need to redo this step.
...
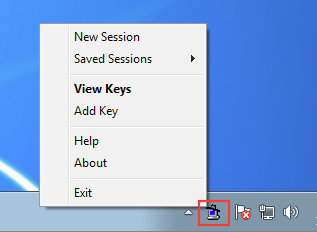
2. On the lower right hand side of your task bar, right click on the icon. Select Add Key.
...
3. Select the PPK file you had previously saved, and press Open.
| Anchor | ||||
|---|---|---|---|---|
|
...
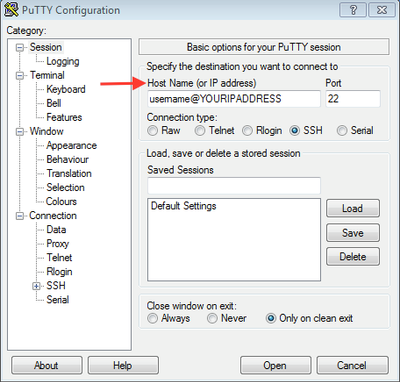
- Go to this link to see the table for references on each image's username:
Public Cloud Images
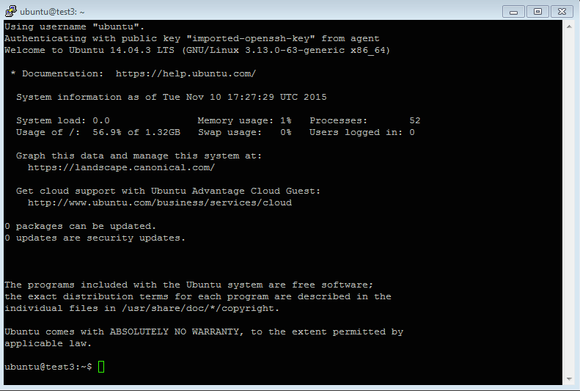
After the @ type in the Floating IP Address associated with that instance. Then select Open.
Note: Floating IP Address is not the 10.*
2. A terminal window should appear and you are now setup.