NFS
The Universal Scale Storage service supports NFSv3 for client access. Below are the recommended mount options for Linux and macOS, as well as instructions for Windows 10
Linux
[user@localhost ~]$ sudo mount -t nfs -o intr,hard,tcp <USS>:/<export> /path/to/mountpoint
macOS
Mac:~ user$ sudo mount -t nfs -o rsize=65536,wsize=65536,intr,hard,tcp,locallocks,rdirplus,readahead=128,resvport <USS>:/<export> /path/to/mountpoint
Windows 10
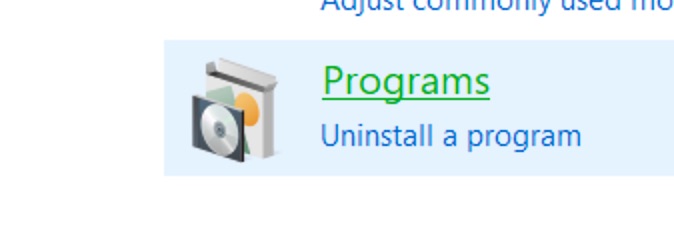
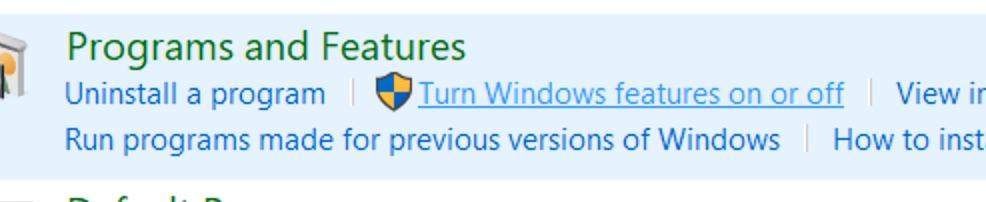
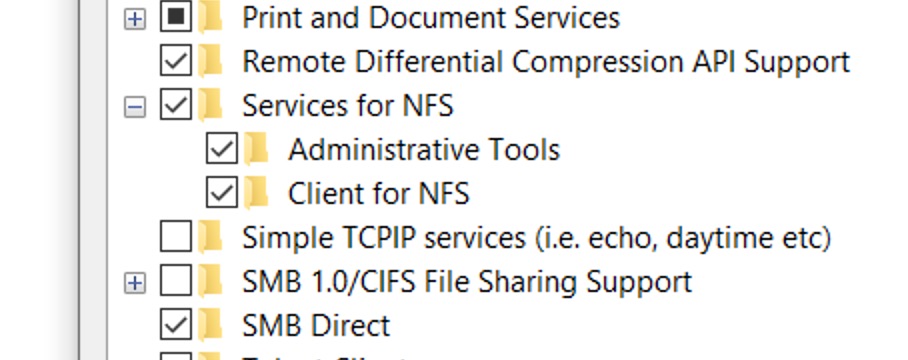
Install the NFS client through Control Panel by selecting 'Programs' → 'Tun Windows features on or off' → 'Services for NFS'
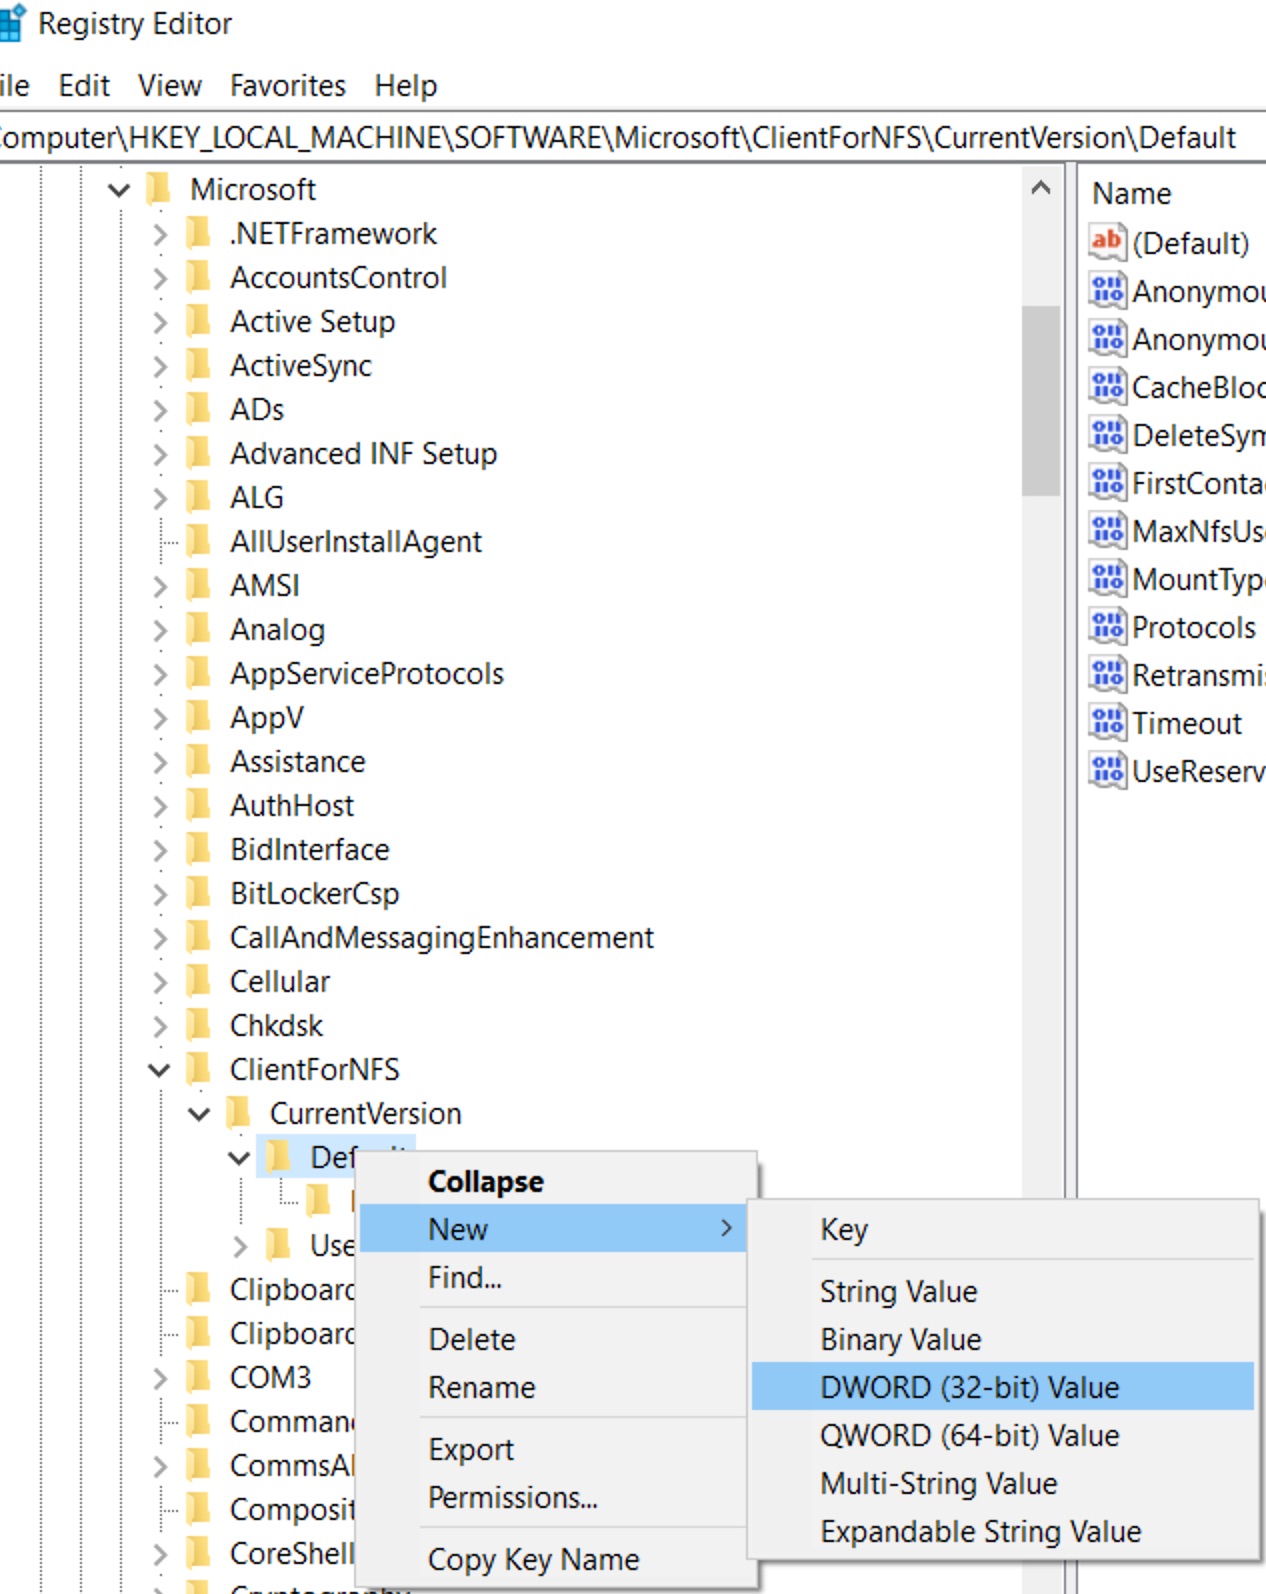
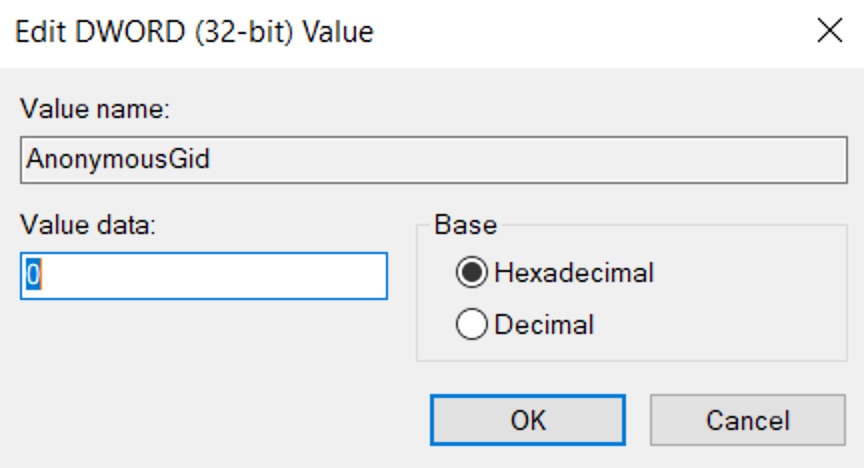
Once the client is installed, we'll configure a custom UID/GID for access via the anon mount option by creating the needed DWORDs within the registry. In this example, we'll plan to pass the UID and primary GID of 0 to the NFS server.
Run 'regedit' to start the registry editor then navigate to '\HKEY_LOCAL_MACHINE\SOFTWARE\Microsoft\ClientForNFS\CurrentVersion\Default' and create two new DWORD (32-bit) values the the following names and a value of 0:
AnonymousUid
AnonymousGid
With the new registry values in place, reboot the Windows host. After the computer has been rebooted, the follow command can be used to mount the NFS export to the Z: drive letter:
C:\Users\myuser\>mount -o nolock,anon \\<USS>\<export> Z: